Setup Guide
3. Create a Workflow
Step 1 — Open the Workflow Form
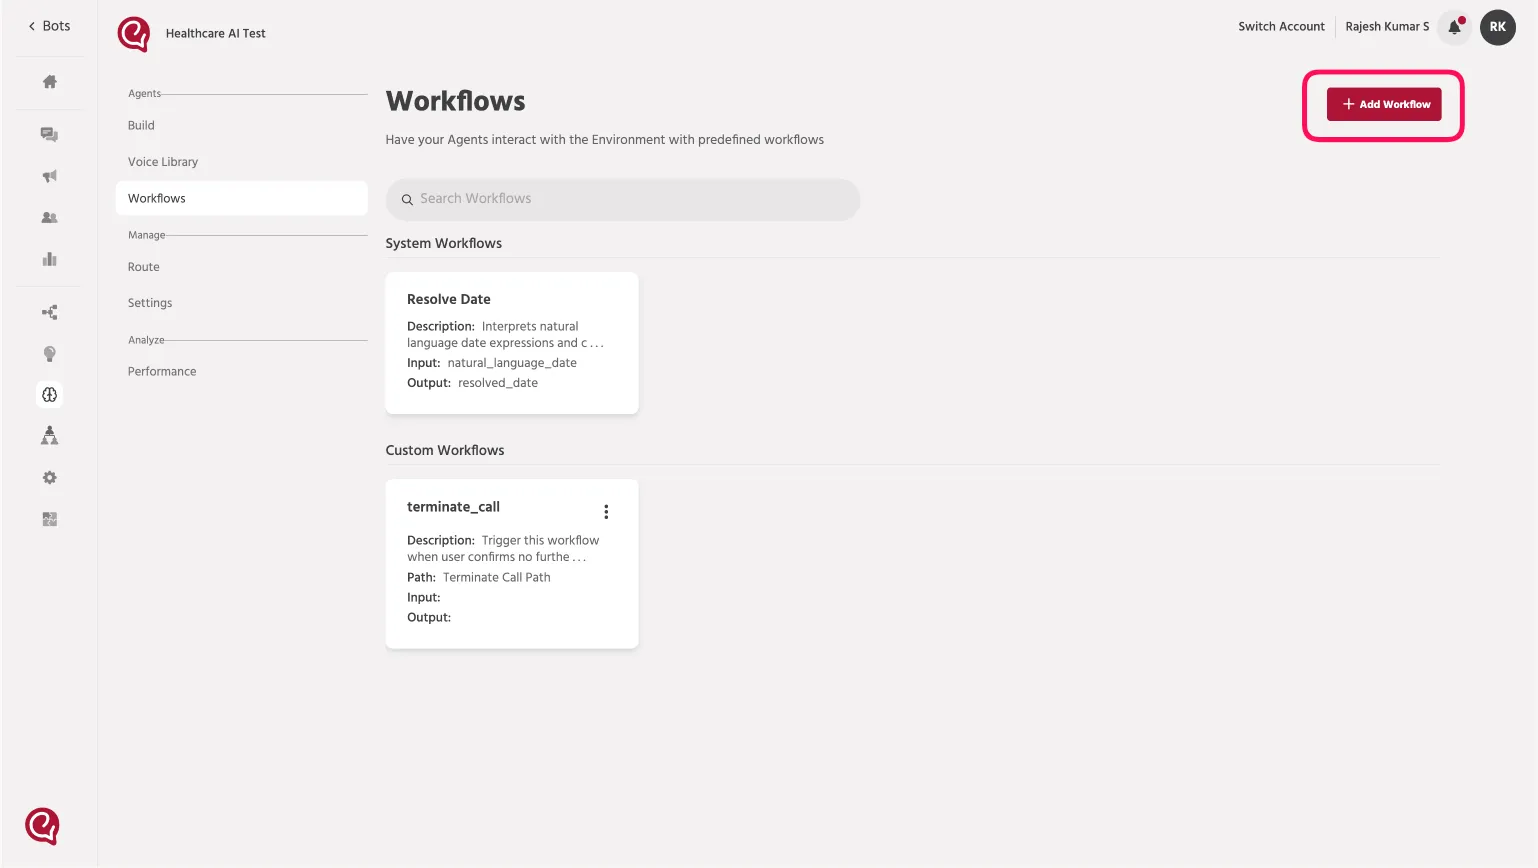
Go to the Workflows section and click Add Workflow.
This opens the workflow form where you can enter all the required details.
Step 2 — Enter Name and Description
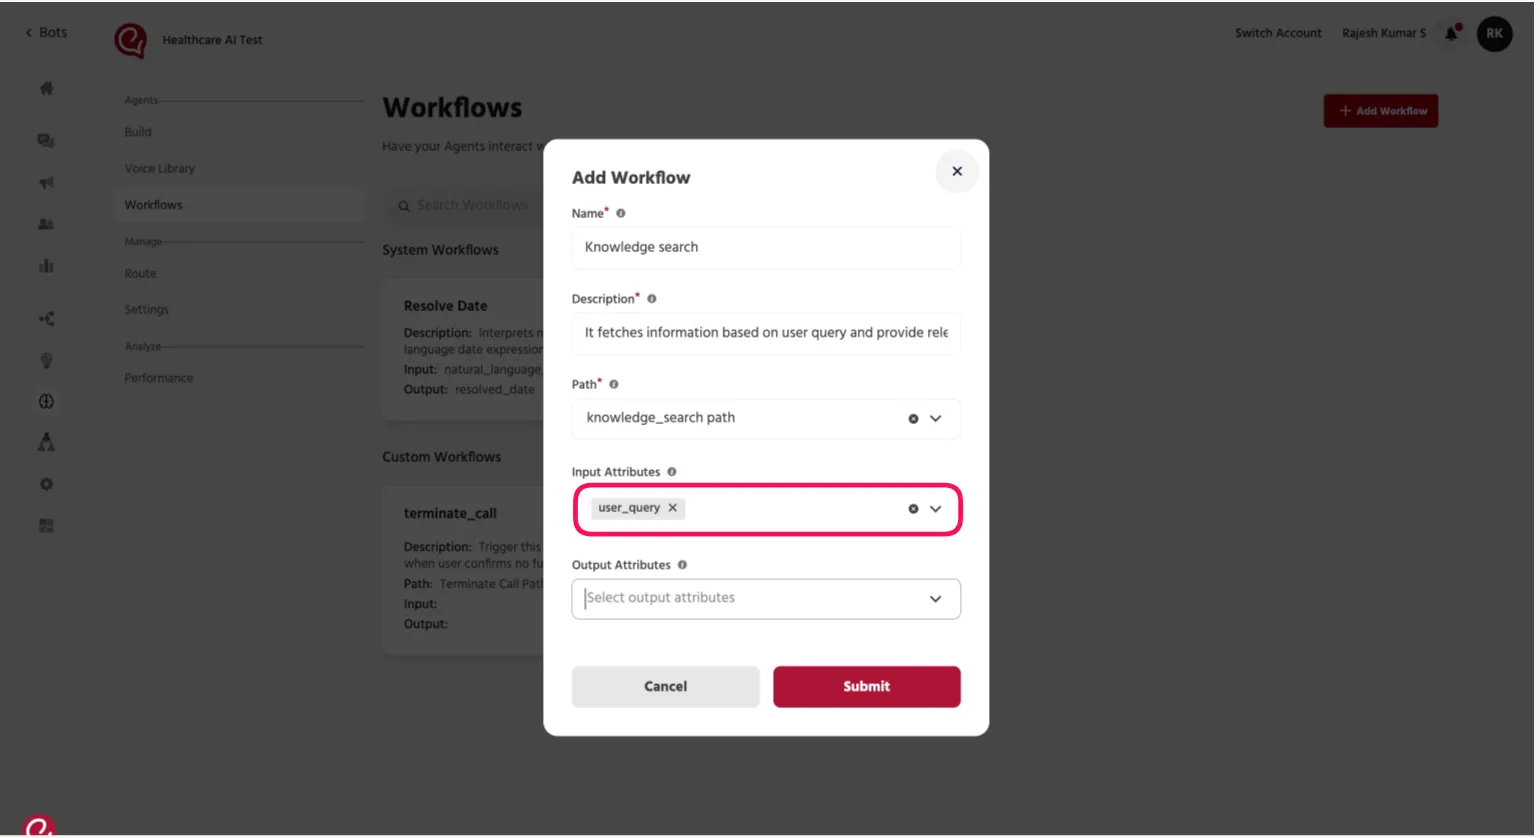
Provide a workflow name and a brief description.
The name should clearly indicate what the workflow does. The description should explain its purpose.
Example:
Name: Knowledge search
Description: It fetches information based on user query and provide relevent details.
Step 3 — Select Path
Choose the required Path.
The path defines what action the workflow will perform.
It can be used to call an API, search data, or save information.
Step 4 — Select Input Attributes
Input Attributes send information from the Agent to the Path.
These attributes provide the required data that the path needs to perform an action.
Example:
In a doctor appointment search, the agent sends the following input attribute:
- user_query
Step 5 — Select Output Attributes and Submit
Output Attributes return information from the Path back to the Agent after the action is completed.
The agent then uses this data to generate a response for the user.
Example
Output attributes returned by the path:
- response
After entering the Name, Description, selecting the Path, and configuring the Input and Output Attributes, click Submit to create the workflow.
Once submitted, the workflow will be saved and can be used by the agent to trigger actions such as fetching data or saving information.
📚 Next Steps
After configuring Workflow Setup proceed to Agent Creation to create and configure your Agent.