WebEngage
Introduction
There can be multiple use-cases for integrating WebEngage to Engati. The ones where event-based integrations are needed for instance sending a template when a booking event is done, then we can follow the below instructions.
- Add the Required Script in the Engati Path
Before configuring the WebEngage integration, you must first add the required script in the Engati path that will be selected during setup.
Add the following script inside the required path:
var whatsAppData = {{whatsAppData}};
var metadata = {{metadata}};
var version = {{version}};

process({
  data: {
    type: "template",
    integration: "WEBENGAGE",
    payload: {
      version: version,
      whatsAppData: whatsAppData,
      metadata: metadata
    }
  }
});
This script processes the data received from WebEngage and passes the required payload to the selected path.
- Integrate WebEngage Account
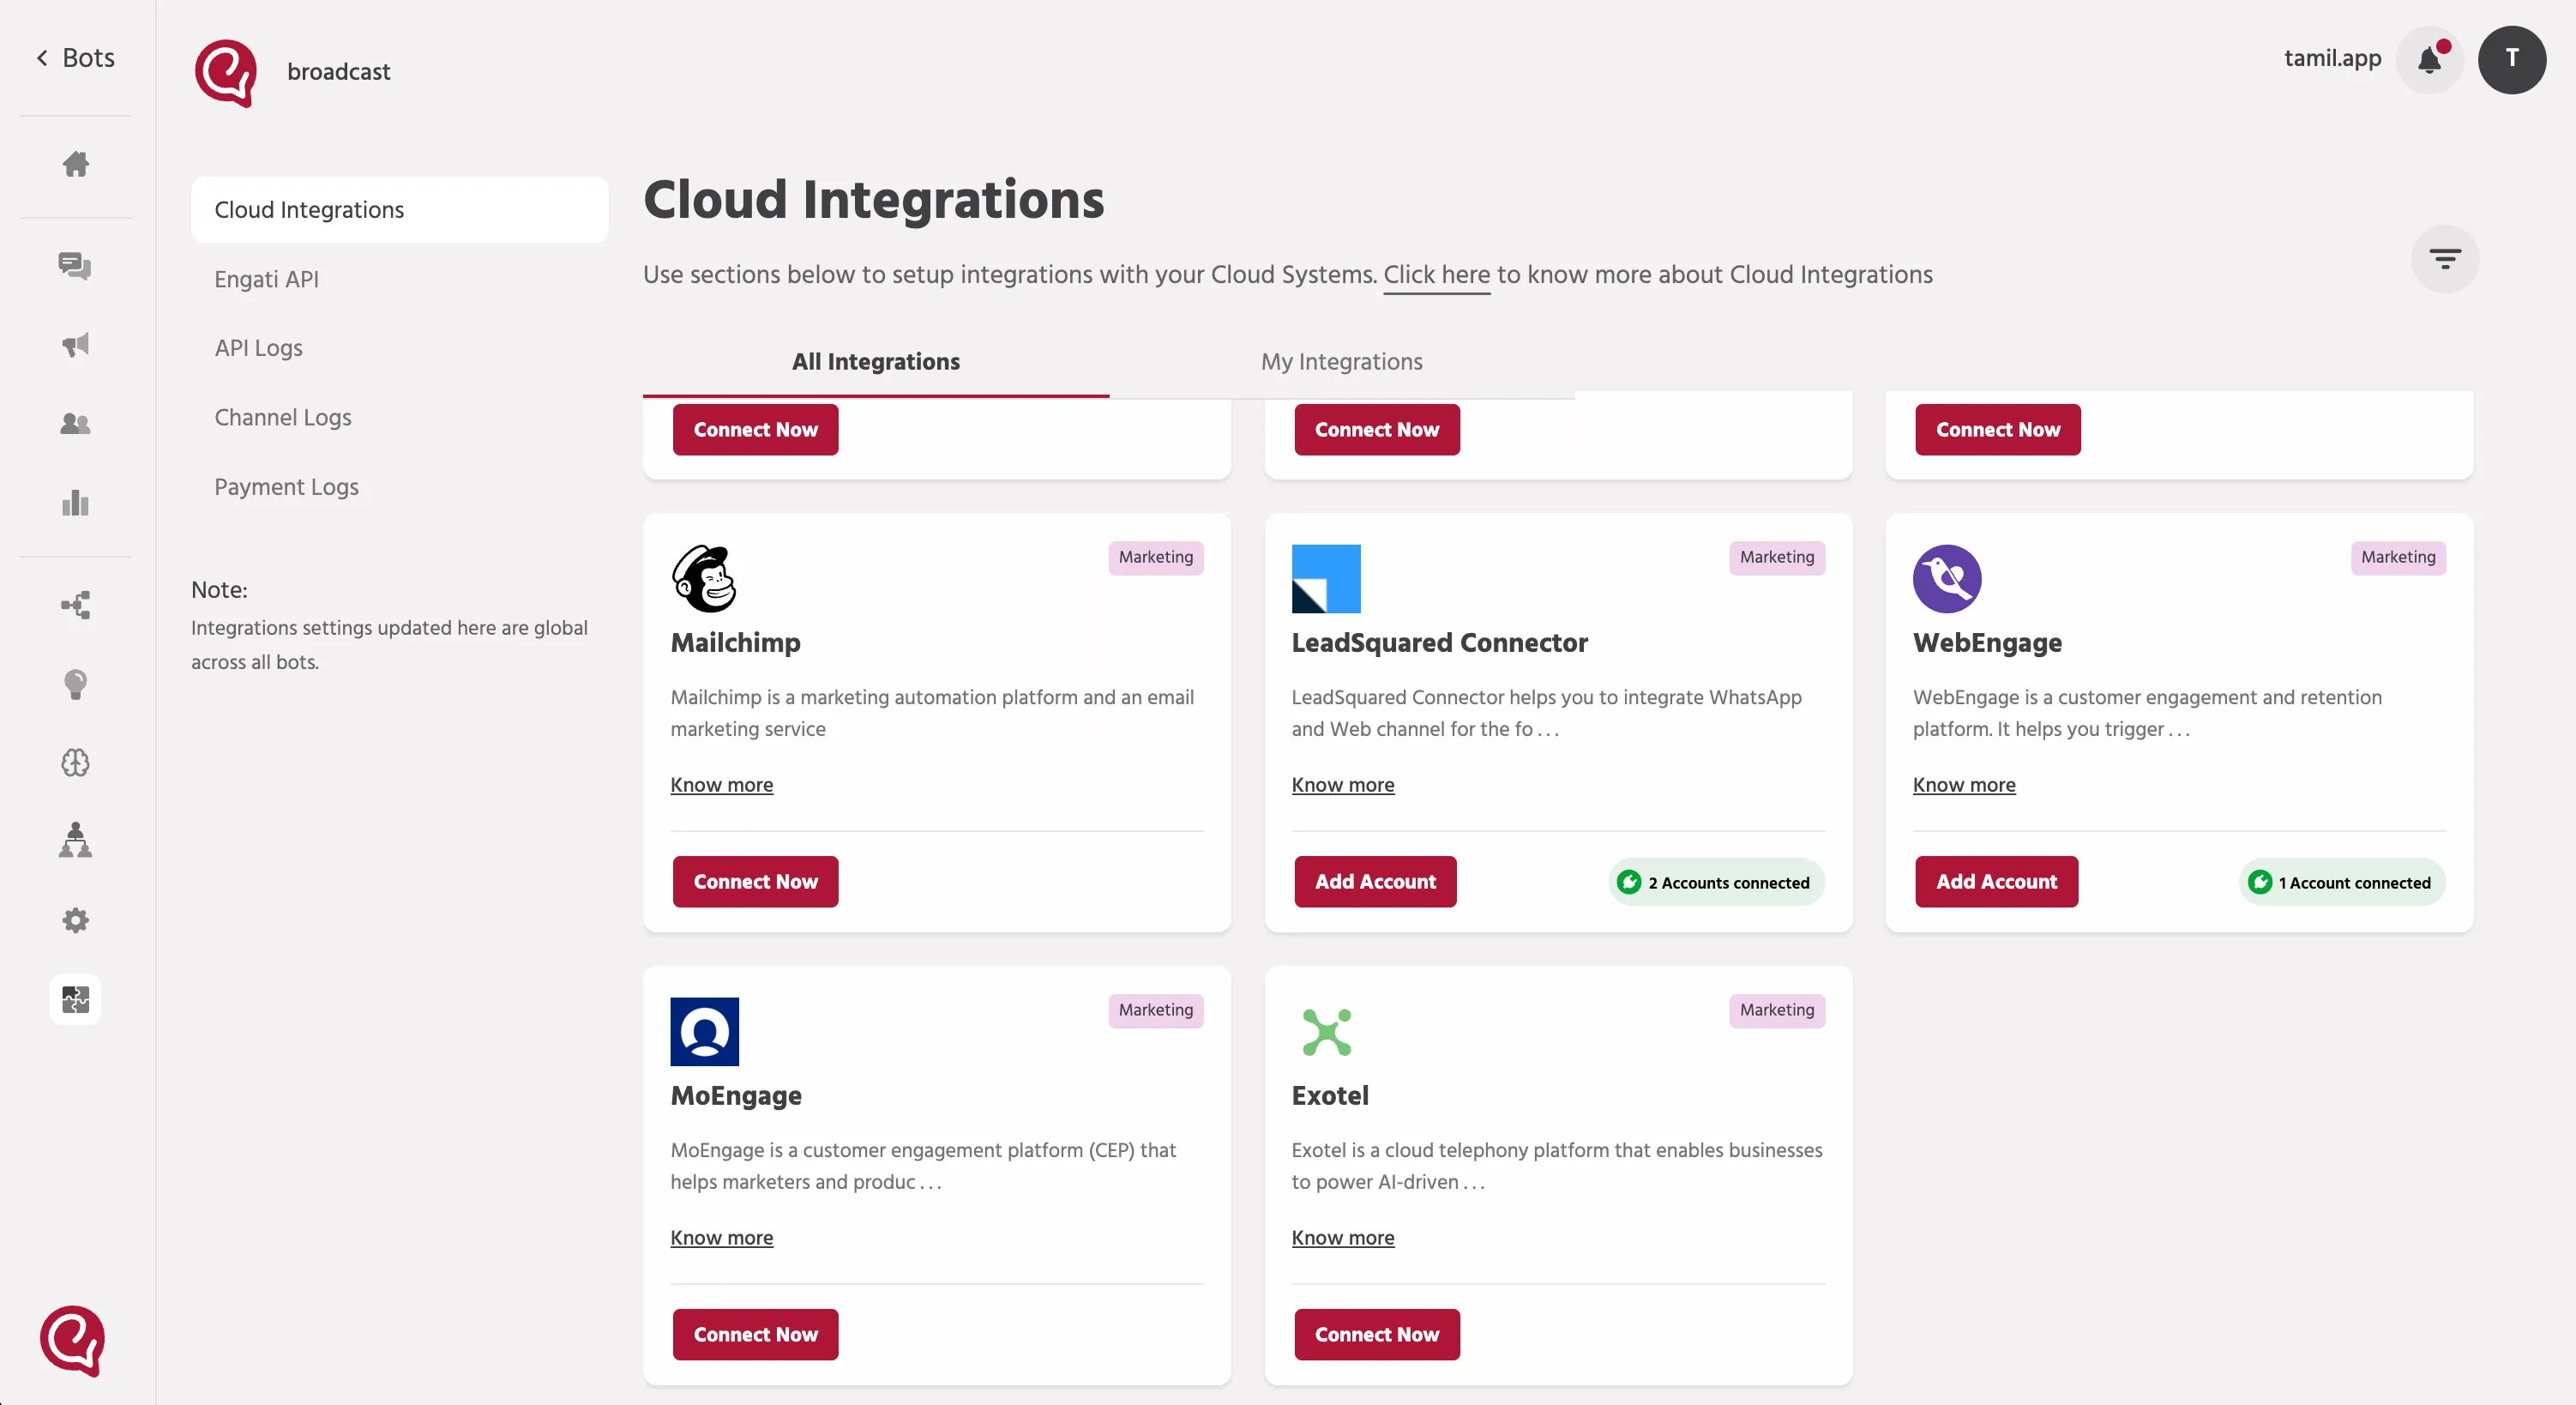
Navigate to: Integrations > Cloud Integrations > WebEngage > Add Account.
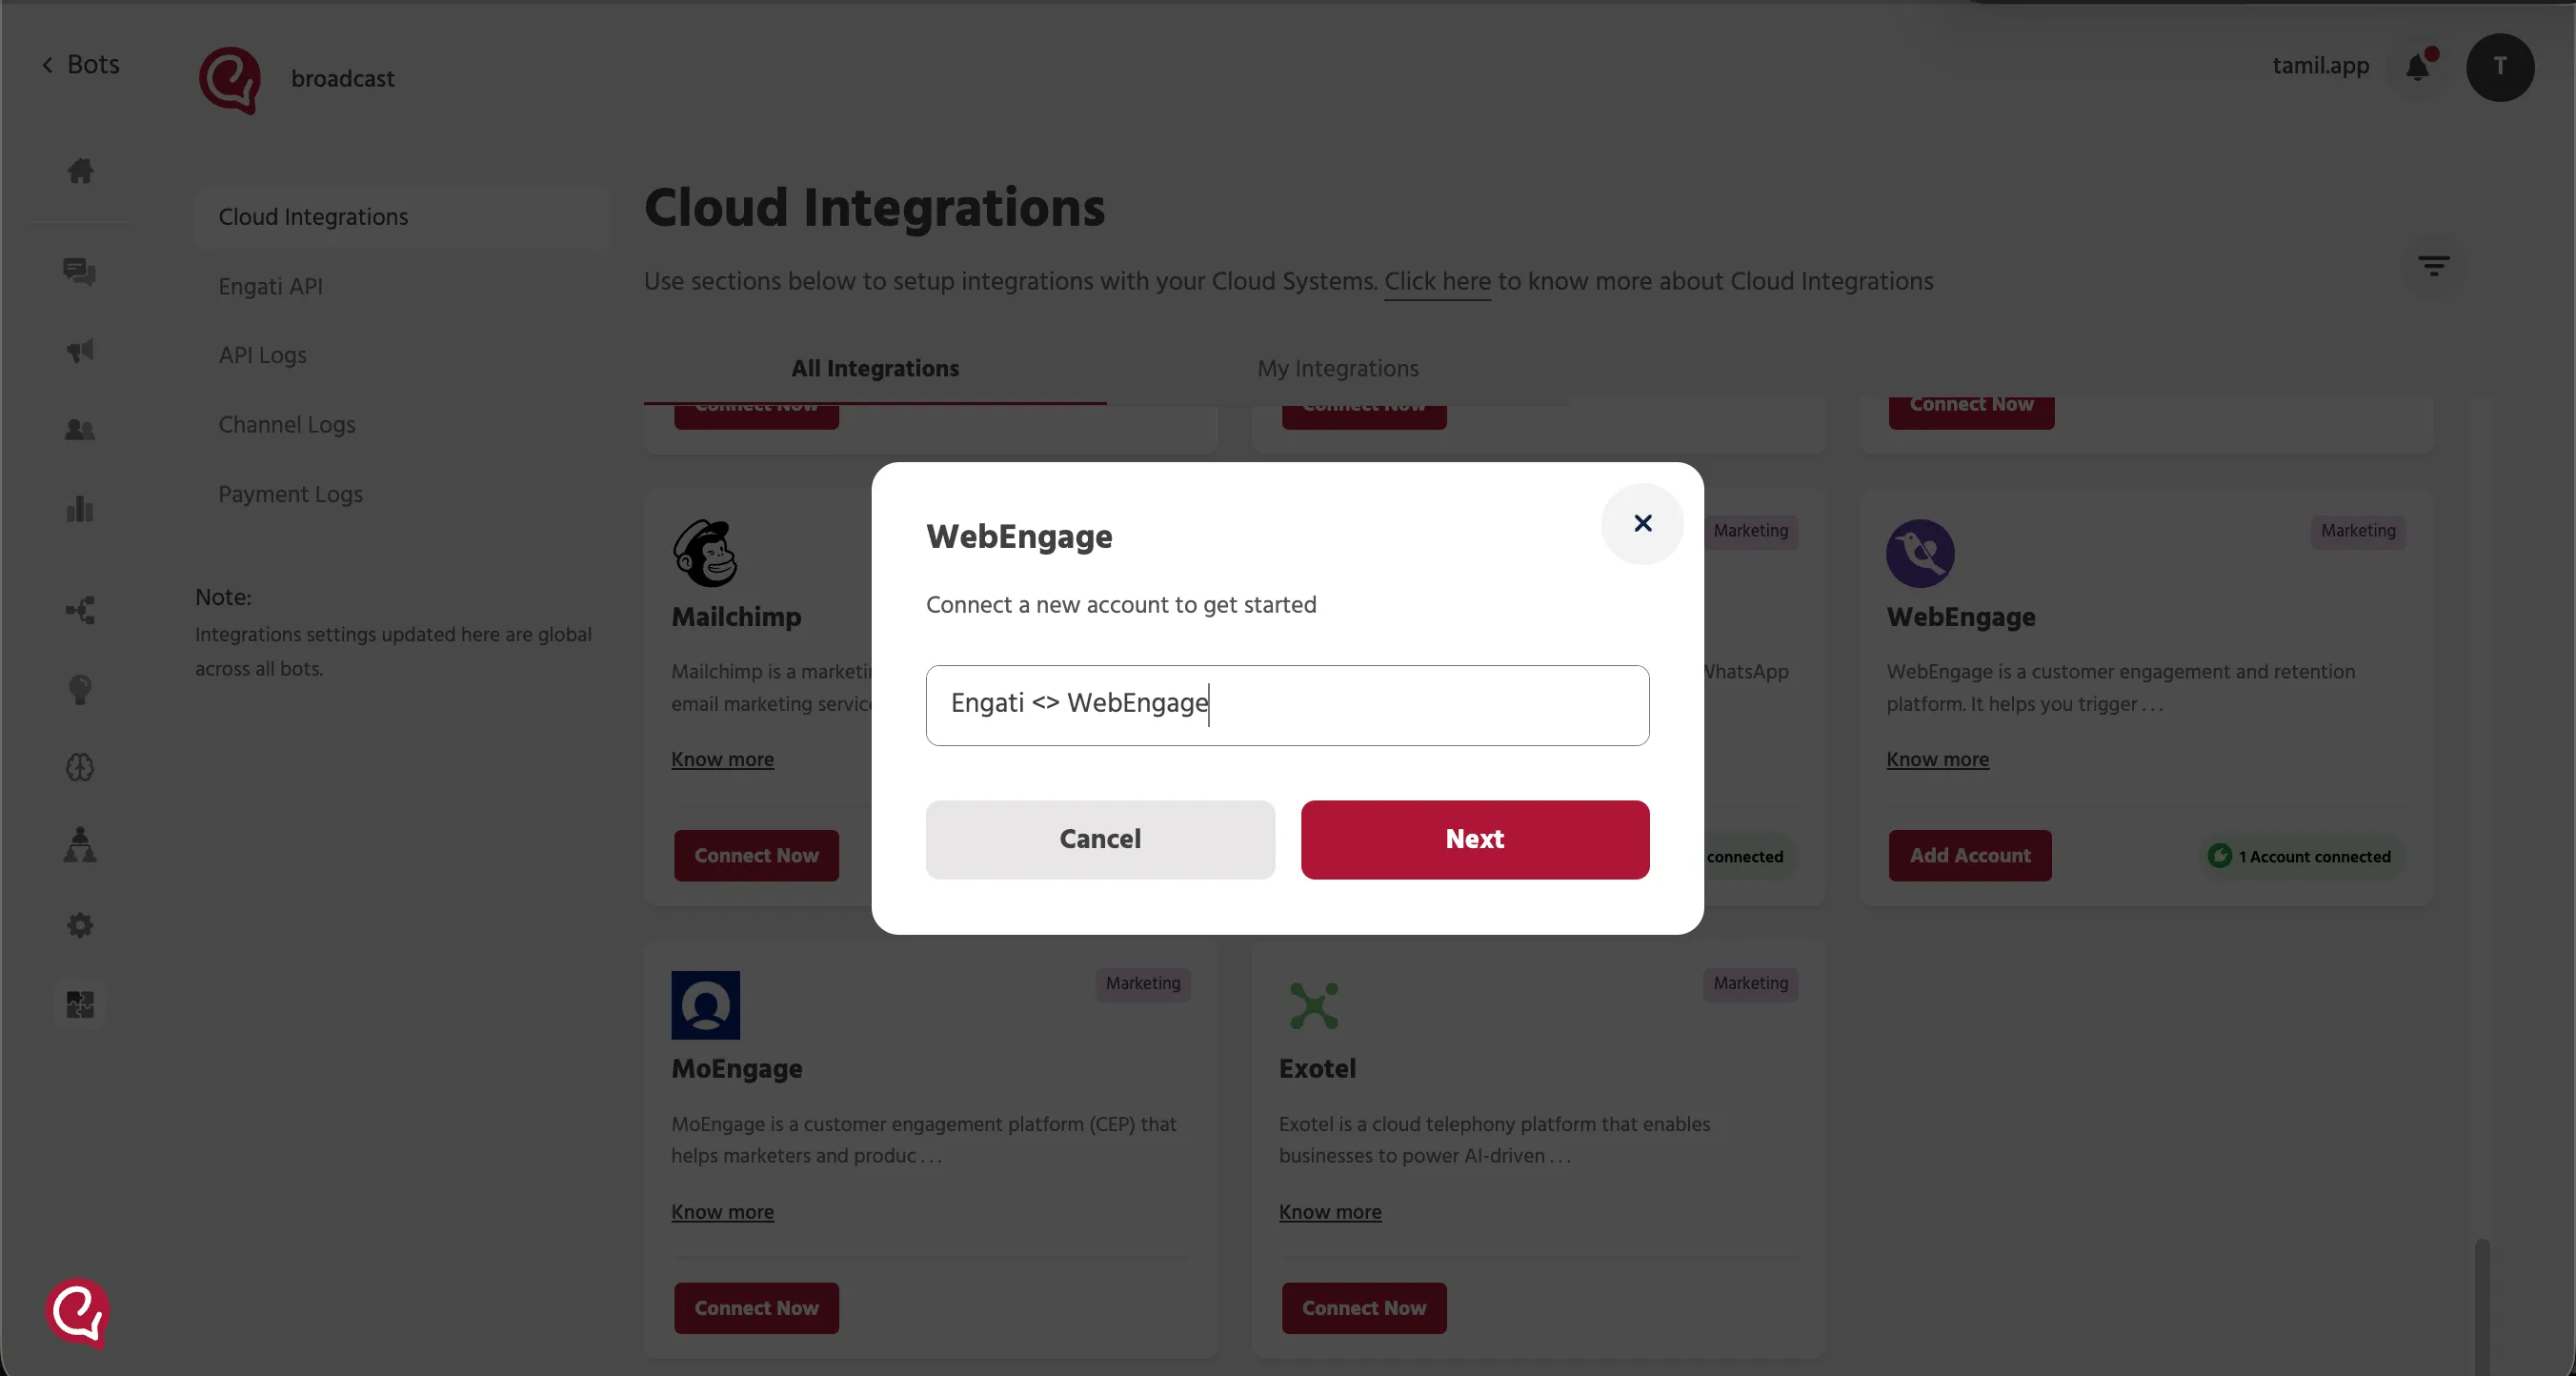
- Enter an account name.
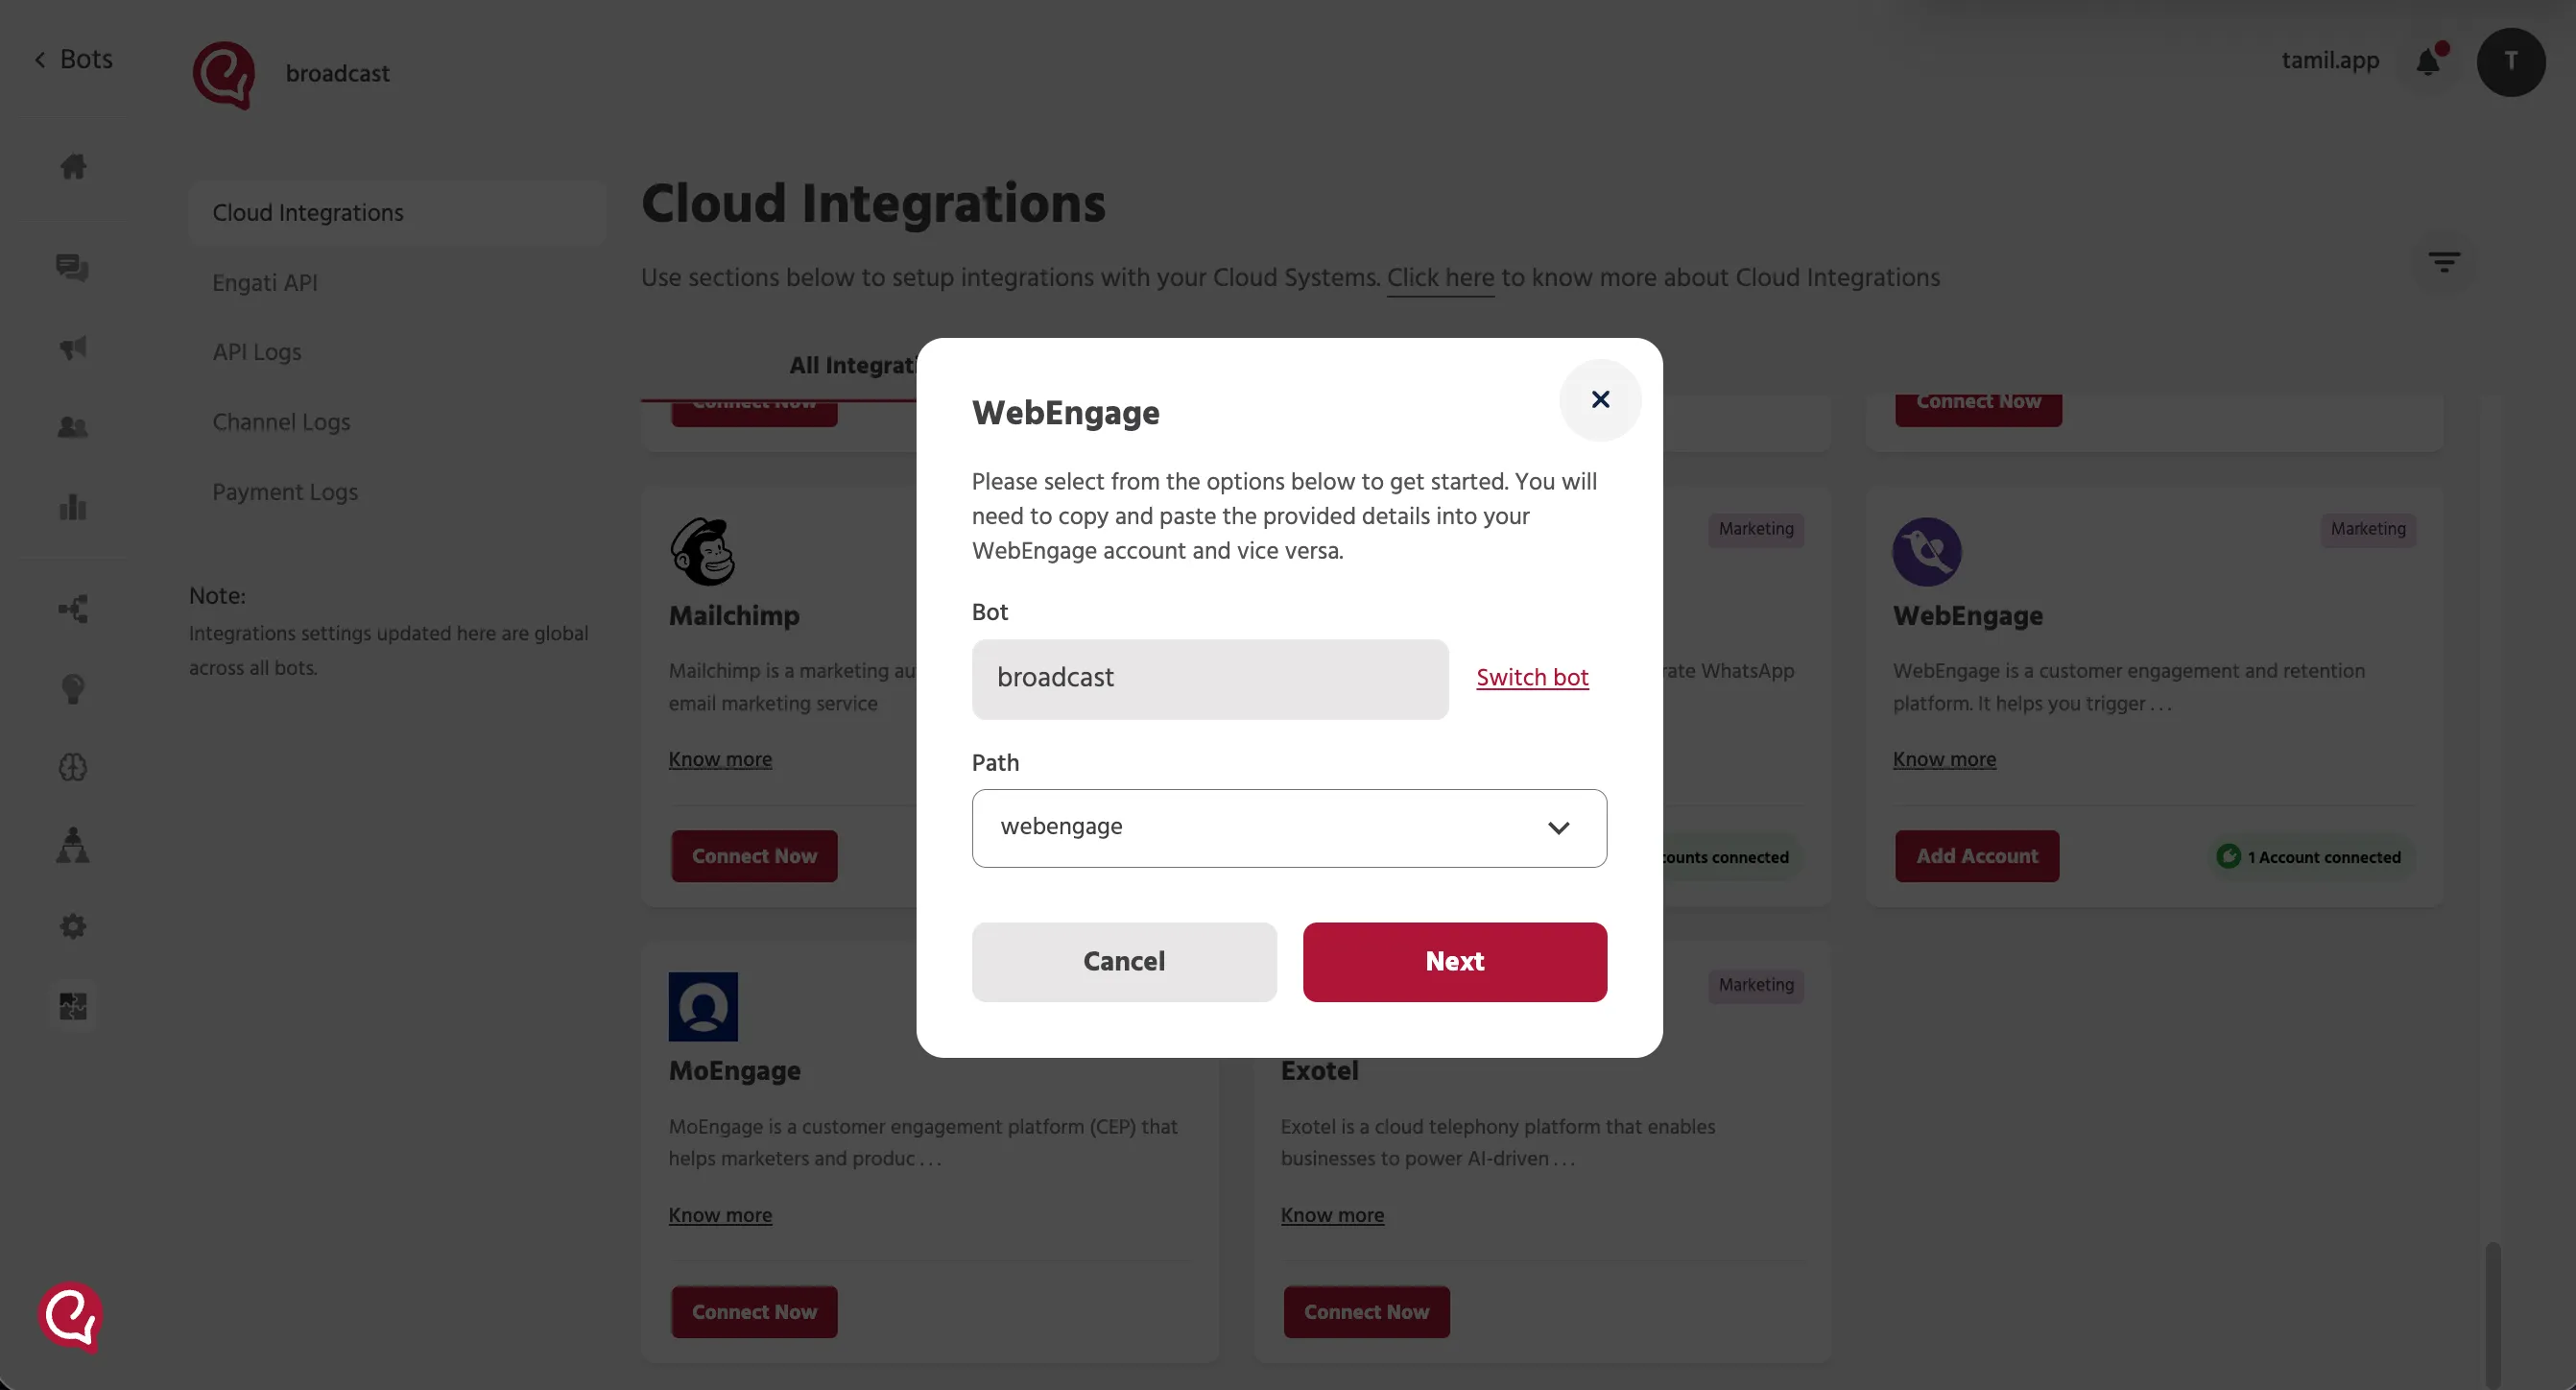
- Select the Required Path
Confirm the selected bot and choose the required path, the same path in which the WebEngage script was added.
- Complete the WebEngage Configuration Screen
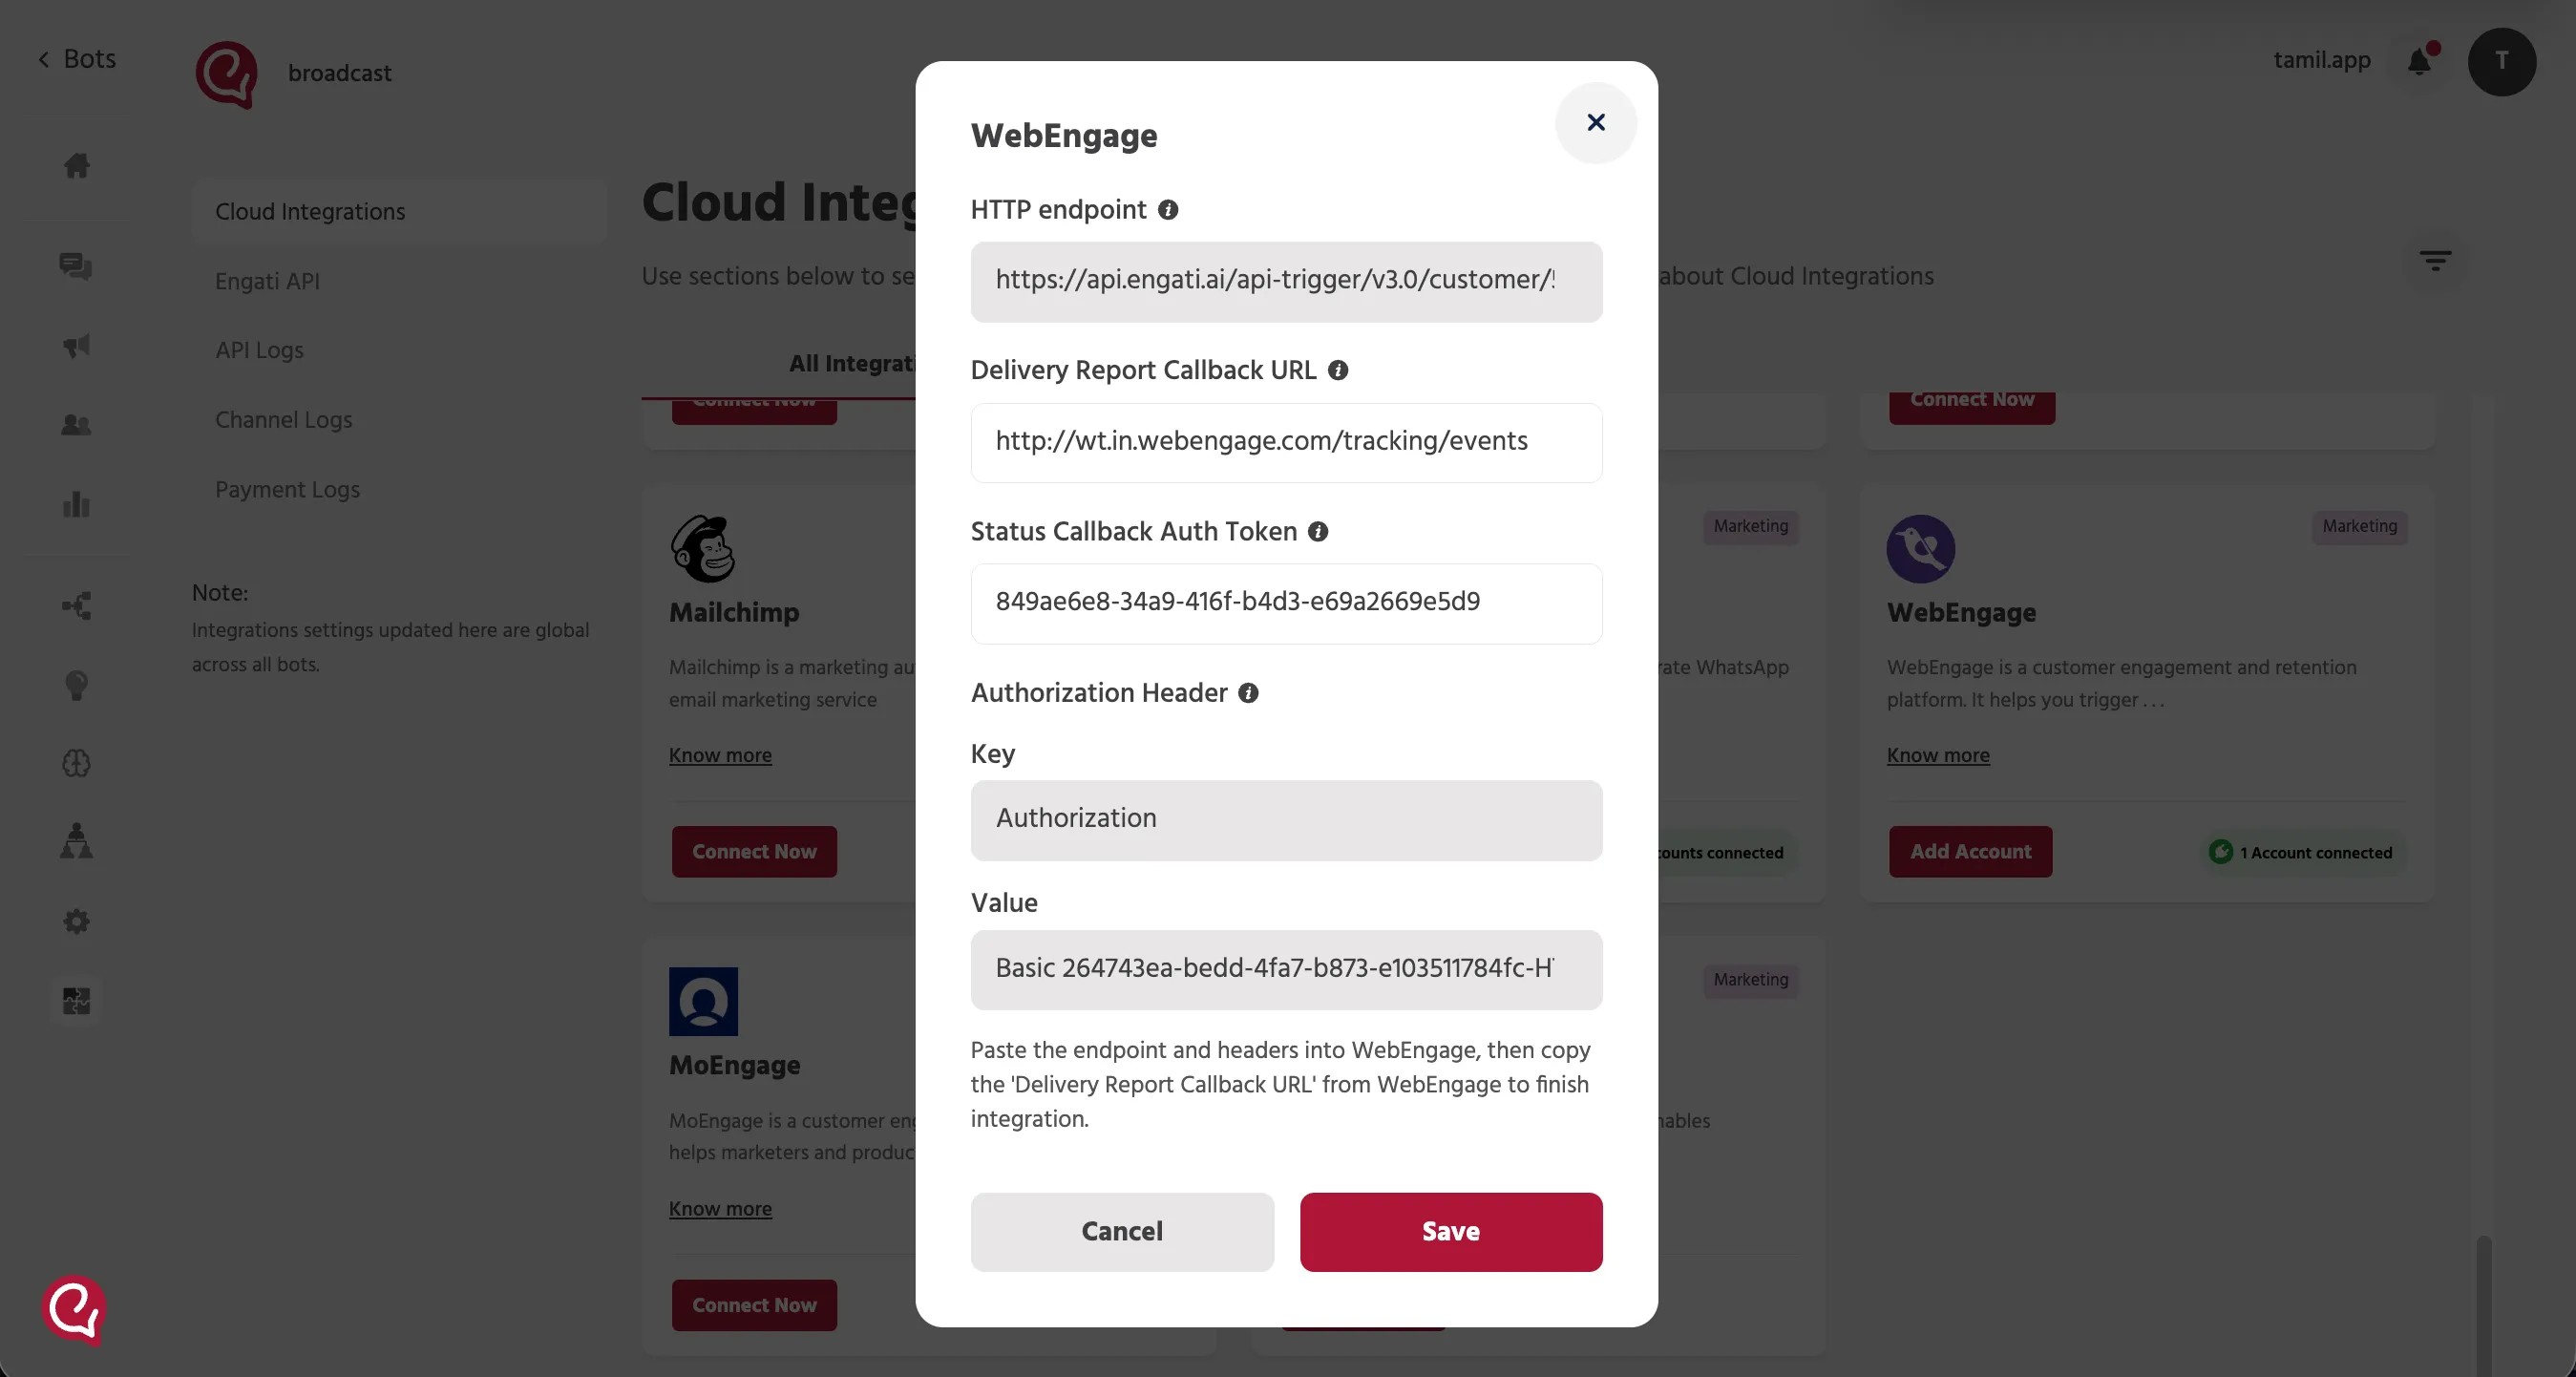
In the WebEngage configuration screen, you will see the values that must be exchanged between Engati and WebEngage.
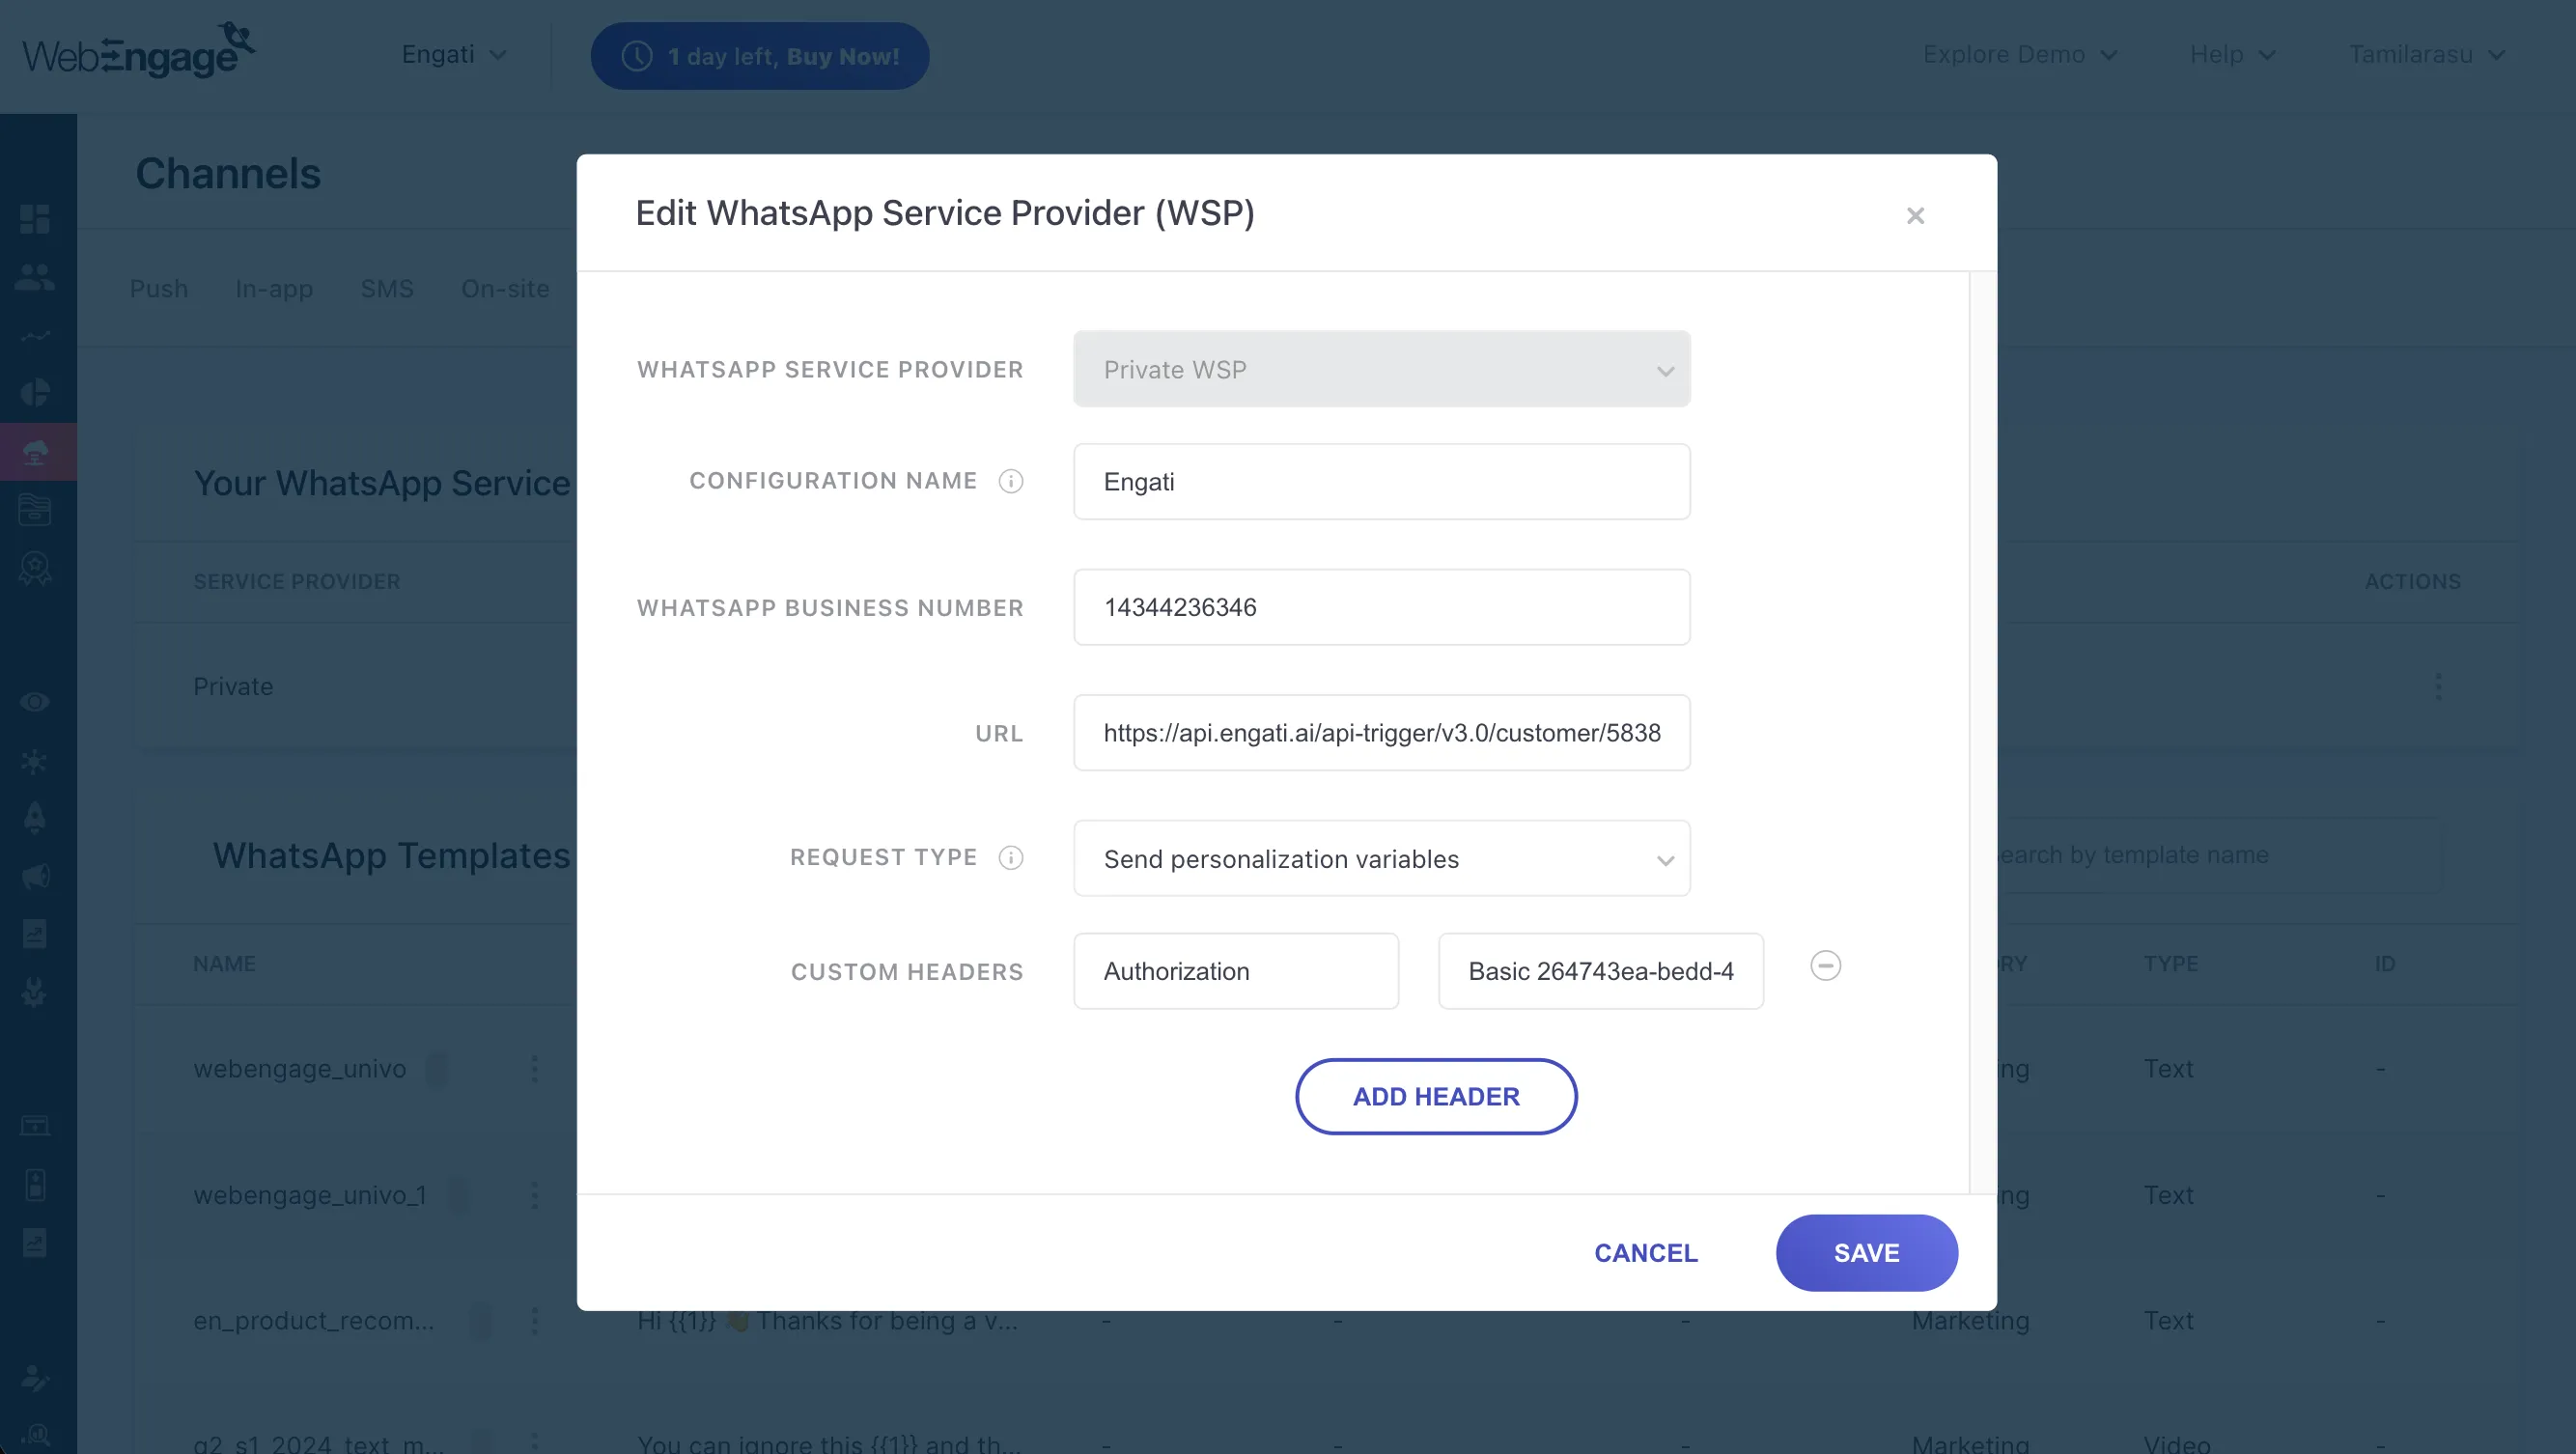
Values Copied from Engati to WebEngage
Use the following values from Engati in the WebEngage portal:
- HTTP endpoint
- Authorization Header Key
Authorization
- Authorization Header Value
Basic 45680-fsqq.....
HTTP Endpoint
Copy the HTTP endpoint from Engati and paste it into the WebEngage portal.
Authorization Header
Use the Authorization Header shown in Engati inside the WebEngage portal.
- Key: Authorization
- Value: The generated header value shown in Engati
Both the key and value must be copied to WebEngage.
Values Copied from WebEngage to Engati
After setting up the endpoint and authorization in WebEngage, copy these values back into Engati:
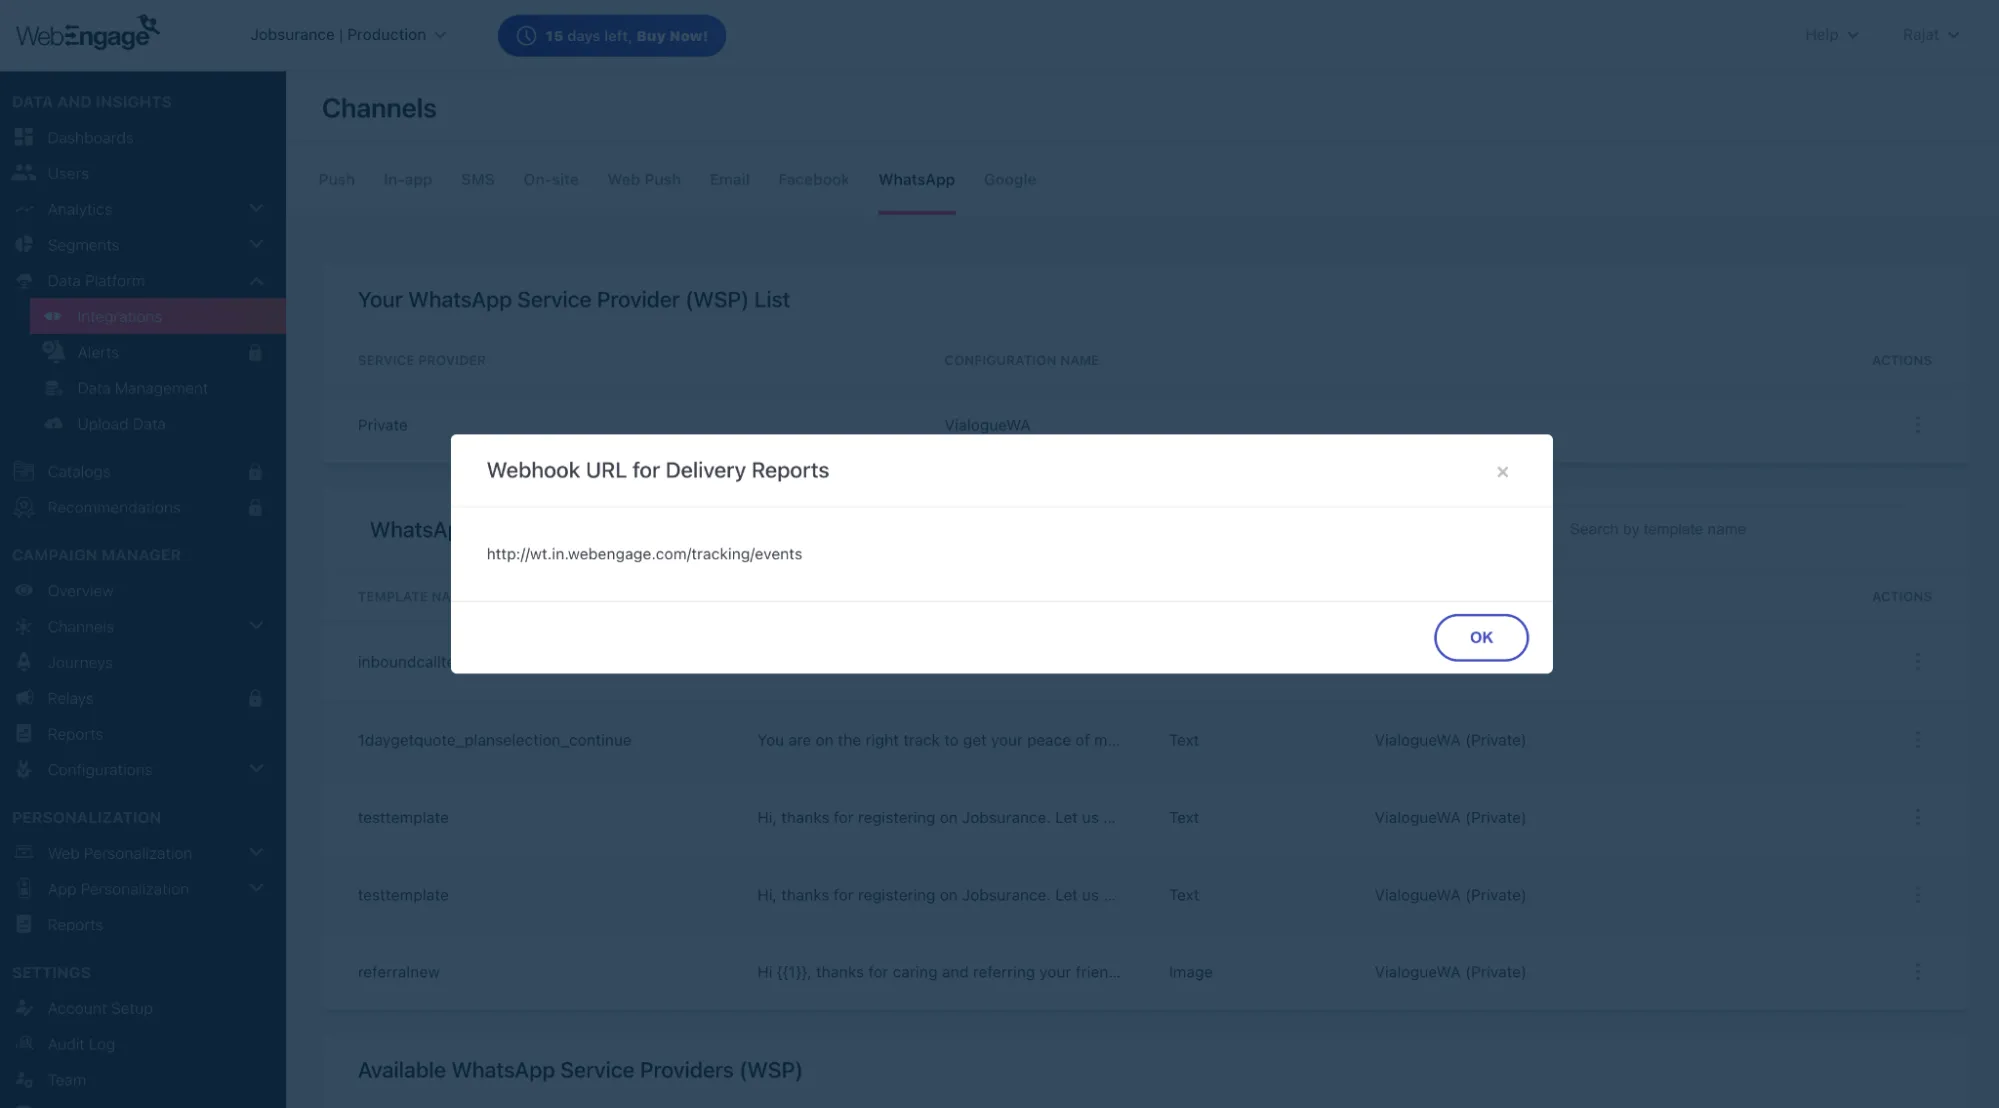
- Delivery Report Callback URL
https://wt.in.webengage.com/tracking/events
- Status Callback Auth Token
Delivery Report Callback URL
Paste the WebEngage webhook URL into the Delivery Report Callback URL field in Engati.
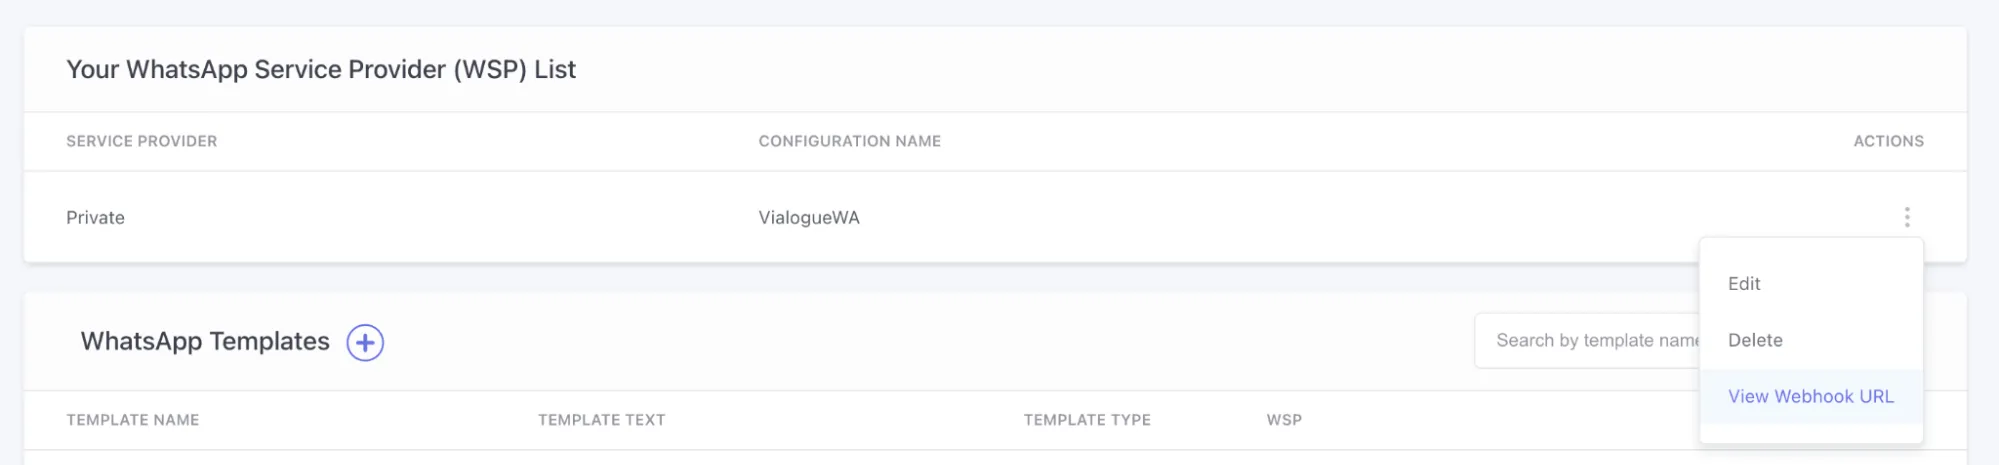
Data platform -> Integrations -> Channel Integration Setup -> WA Setup -> Configure -> Click on “View Webhook URL”
Status Callback Auth Token
Paste the Status Callback Auth Token into Engati.
This token is provided by the WebEngage onboarding manager.
- Test out the end to end flow from WebEngage
- Once the above setup is done, We would need a webhook URL for the event, we can find it from
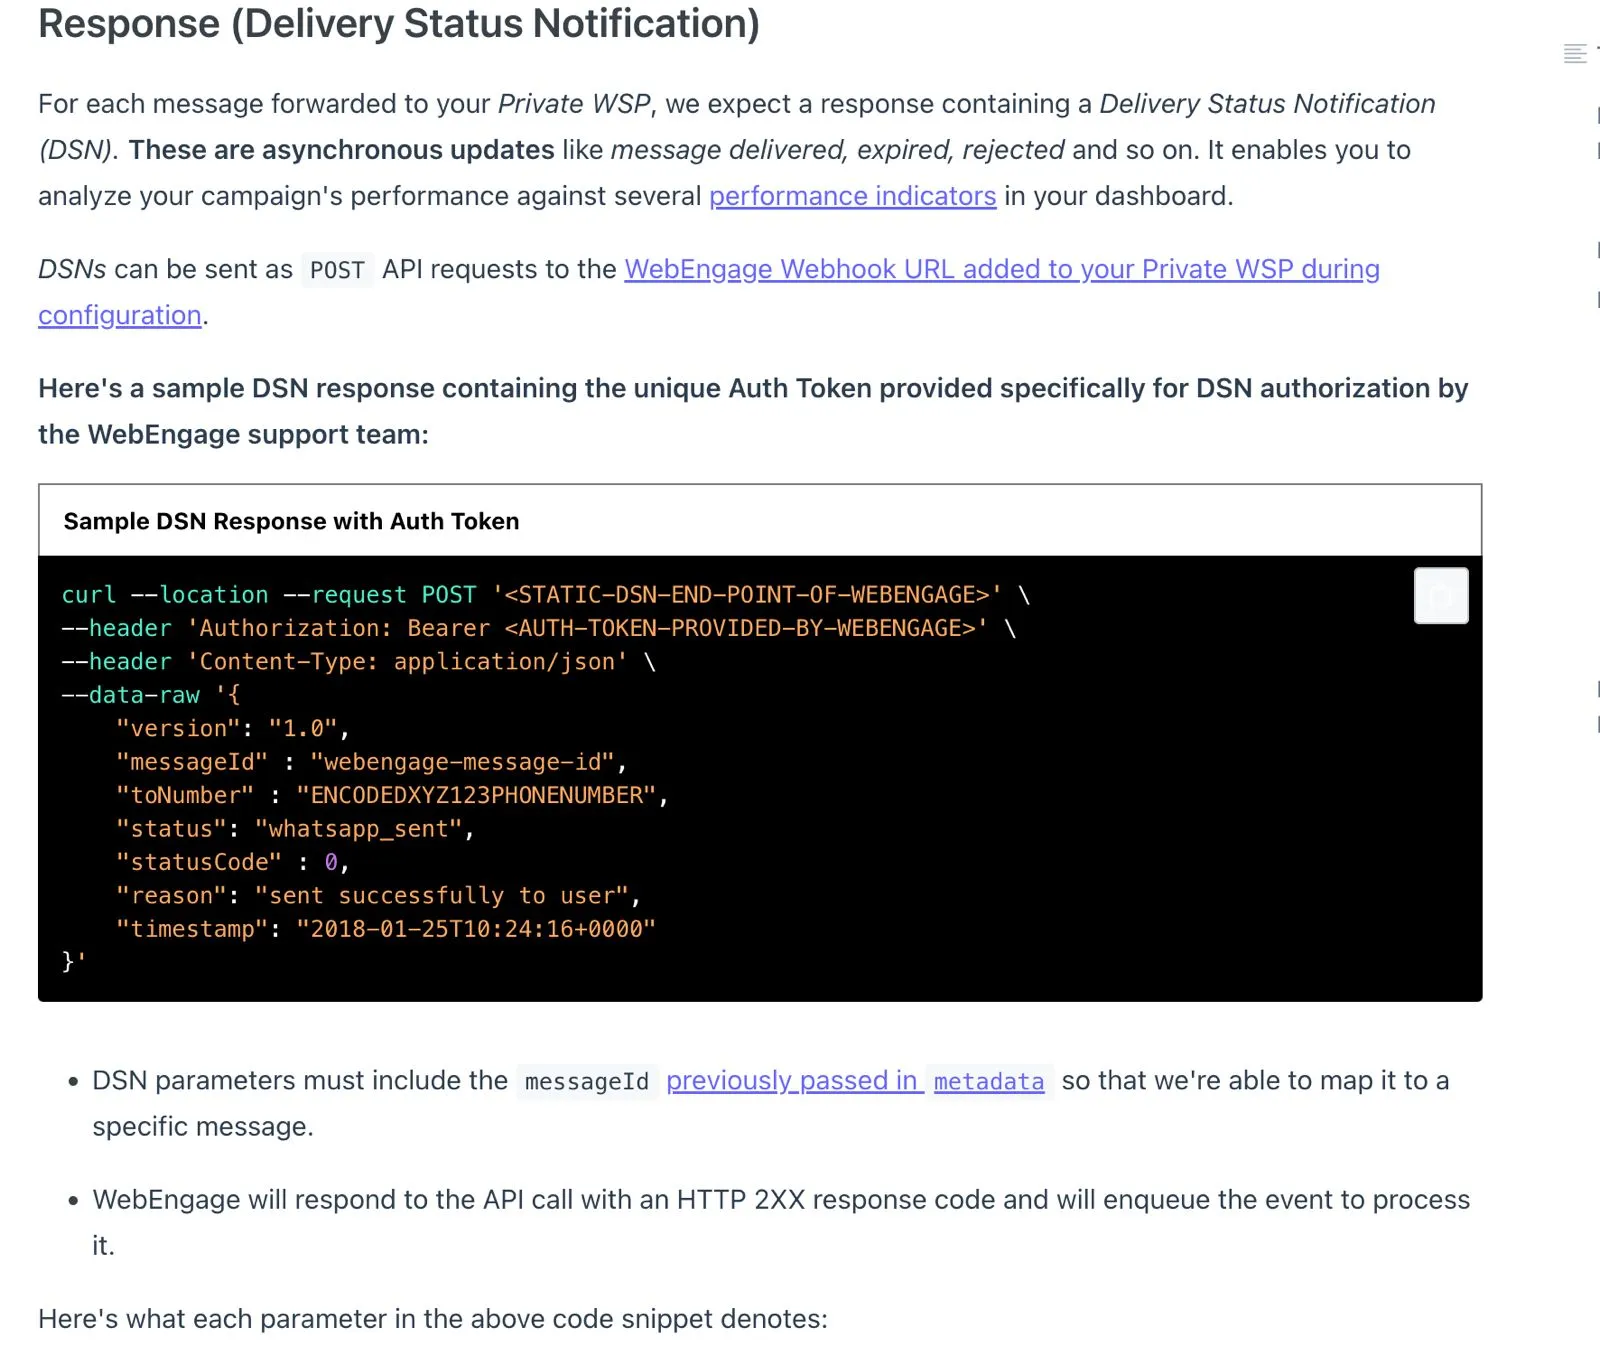
Also, along with URL we will also need AUTH_KEY_PROVIDED_BY_WEBENGAGE. If we don’t have it then send a mail to “[email protected]” and request for the same. This Auth key is needed to send the status packet back to webengage and complete the WhatsApp flow.

Field Mapping Summary
Field | Source | Destination System |
|---|---|---|
HTTP endpoint | Engati | WebEngage portal |
Authorization Header Key | Engati | WebEngage portal |
Authorization Header Value | Engati | WebEngage portal |
Delivery Report Callback URL | WebEngage | Engati |
Status Callback Auth Token | WebEngage onboarding manager | Engati |